
How to Create Professional Blog Images With AI in 2026

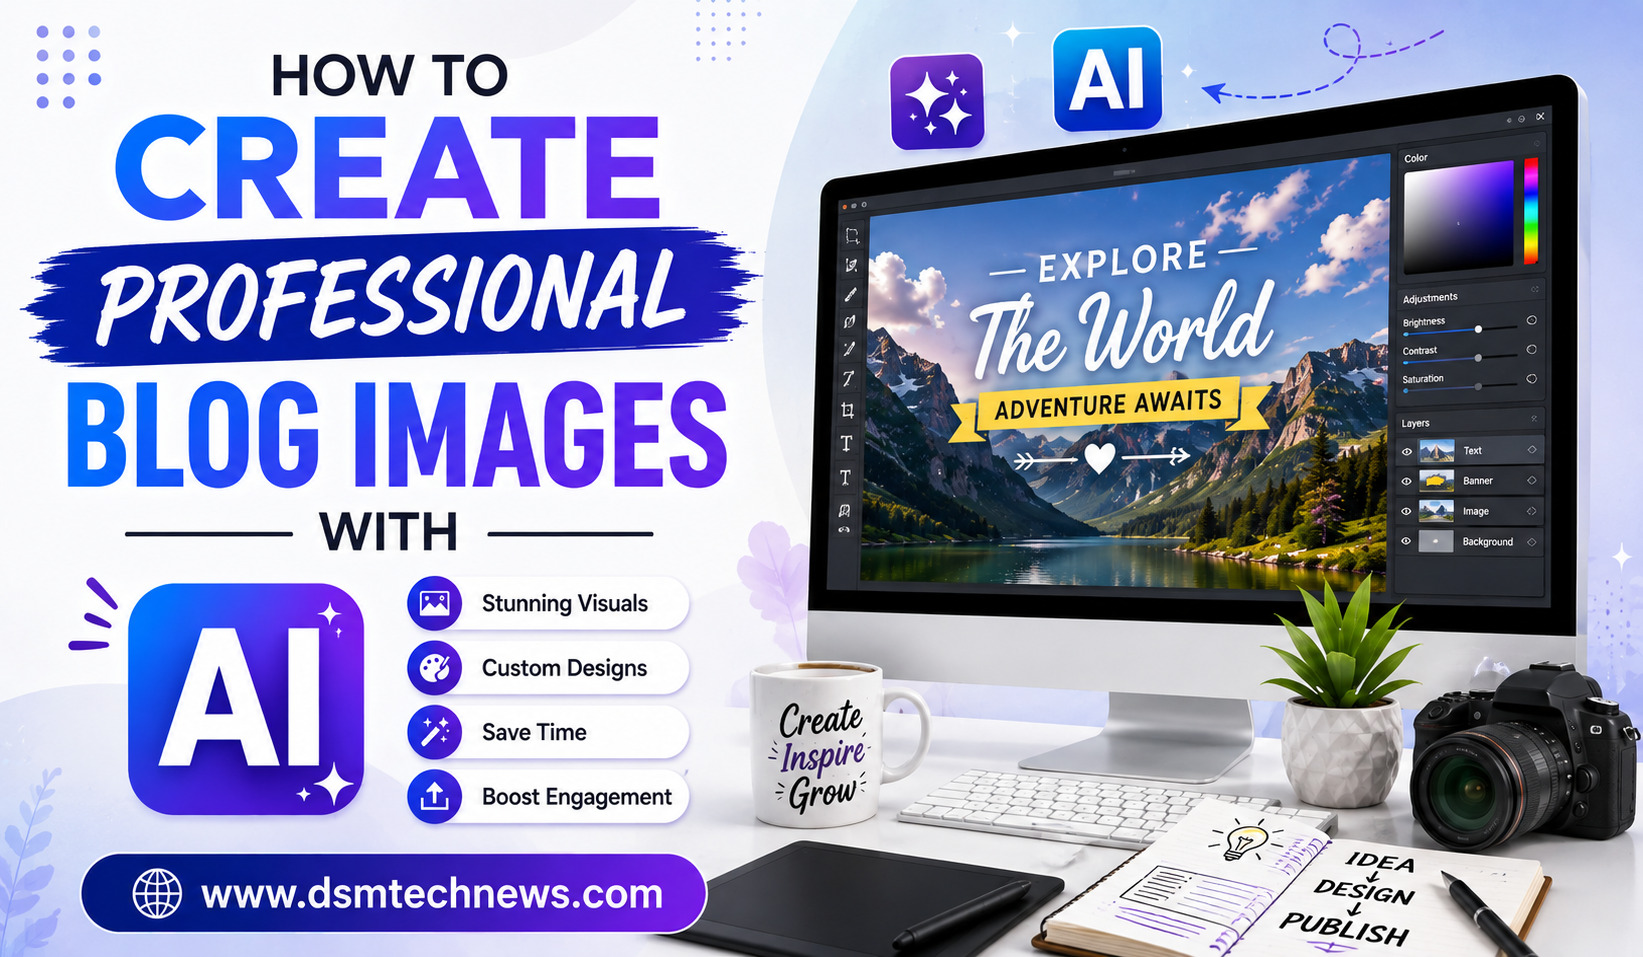
A blog post can contain excellent information and still struggle to attract attention if its visuals are weak. The featured image is often one of the first things readers see when they discover an article through search results, social media or a website homepage.
Creating professional blog images used to require photography, graphic-design software or a designer. In 2026, AI image generators have made the process much faster. You can describe an idea, generate a visual, make changes through natural-language instructions and prepare the final image for your website.
However, simply asking an AI tool to “make a blog image” usually does not produce the best result. Professional-looking visuals require a clear concept, suitable composition, good prompting and some final editing.
Here’s how to create professional blog images with AI step by step.
Why Professional Blog Images Matter
Images can make a blog easier to understand and more visually appealing. A well-designed featured image can also help your article stand out when it is shared on social media or displayed alongside other posts.
For informational articles, custom illustrations can explain concepts that are difficult to communicate through text alone. For business blogs, professional visuals can strengthen brand identity. For technology websites, AI-generated graphics can help visualize abstract concepts such as artificial intelligence, cybersecurity or cloud computing.
The goal should not simply be to add an image because every article needs one. The image should support the topic and give readers a quick visual understanding of what the article is about.
Step 1: Decide What the Image Should Communicate
Before opening an AI image generator, identify the main idea of the article.
Suppose your article is titled “How AI Is Changing Small Businesses in 2026.”
A generic image of a robot holding a laptop might technically relate to the topic, but it is unlikely to feel original.
Instead, think about the central concept. You could show a small-business owner working at a desk while AI-powered digital tools appear naturally around the workspace.
For an article about personal finance, you might use a realistic desk scene containing financial documents, a laptop and subtle digital data elements.
The best blog images usually communicate the subject within a few seconds.
Step 2: Choose the Right AI Image Generator
There are many AI image generators available in 2026, and each has different strengths.
ChatGPT is useful when you want to describe an idea conversationally and refine the image through follow-up instructions. It is particularly convenient for bloggers who want to create and edit images without learning complicated tools.
Google Gemini is another strong option for image generation and editing, especially for users already working within Google’s AI ecosystem.
Midjourney is well suited to artistic, cinematic and highly stylized blog visuals.
Adobe Firefly is particularly useful for creators who need professional editing and design workflows.
Ideogram is a good choice when your blog graphic needs readable text, such as a headline or promotional message.
For most bloggers, starting with a simple conversational tool is often the easiest approach.
Step 3: Write a Detailed Image Prompt
Your prompt is one of the most important parts of the process.
A weak prompt might say:
“Create an image about digital marketing.”
This gives the AI very little information.
A stronger prompt could be:
“Create a professional editorial-style blog image about digital marketing for small businesses. Show a modern entrepreneur working on a laptop in a bright contemporary office, with subtle visual elements representing social media, analytics and online advertising. Natural lighting, realistic photography, clean composition, premium business magazine aesthetic, plenty of negative space on the left for a headline, horizontal composition.”
This prompt tells the AI:
- What the subject is
- Who should appear
- Where the scene takes place
- Which concepts should be represented
- What visual style to use
- How the image should be composed
- Where text may eventually be placed
The more specific your requirements are, the easier it is for the model to understand your intended result.
Step 4: Choose the Right Visual Style
Not every blog needs a photorealistic image.
The appropriate style depends on your website and audience.
For business articles, realistic editorial photography can look professional.
For technology articles, futuristic digital illustrations may work better.
For lifestyle articles, natural photography can feel more relatable.
For educational content, clean illustrations or diagrams may communicate information more effectively.
If your website publishes articles across multiple categories, consider creating a consistent visual style. Using similar lighting, composition and overall aesthetics can make your website look more professional.
Step 5: Leave Space for the Blog Title
One common mistake is asking AI to fill the entire image with objects.
A featured image often works better when it has some negative space.
Negative space is an area with relatively little visual detail. It can provide room for a headline, logo or other design element.
For example, you could ask:
“Place the main subject on the right side and leave clean negative space on the left for a blog title.”
This can make the final design much easier to use.
You can then add the actual headline using Canva, Adobe Express, Photoshop or another design tool.
Step 6: Be Careful With AI-Generated Text
AI image generators have improved significantly at rendering text, but mistakes can still occur.
If your featured image needs a specific article title, consider generating the background separately and adding the headline manually during editing.
For example, create an image showing an entrepreneur using AI tools, leaving empty space at the top. Then add your exact headline using a graphic-design application.
This approach gives you complete control over spelling, font size and brand consistency.
Tools such as Ideogram are also particularly useful when typography is an important part of the generated design.
Step 7: Edit the Image Before Publishing
The first AI-generated image should not necessarily be your final image.
Look carefully for problems such as strange hands, distorted objects, incorrect text, unrealistic shadows or unnecessary visual elements.
You can ask the AI to make another version or edit the problematic area.
After that, perform basic design adjustments.
You may want to:
- Crop the image
- Adjust brightness
- Improve contrast
- Add your website logo
- Add a headline
- Resize the image
- Compress the final file
Small adjustments can make an AI-generated image look much more polished.
Step 8: Use the Correct Blog Image Size
There is no universal image size that works for every website because themes and layouts differ.
However, a horizontal image is usually a practical choice for blog featured images.
A common starting point is around 1200 × 630 pixels, particularly when the image may also be shared on social platforms.
Before creating hundreds of images, check the recommended featured-image dimensions for your WordPress theme or website design.
More importantly, don’t upload unnecessarily huge files. A 5000-pixel-wide image may look impressive but can increase page weight without providing a meaningful benefit to most readers.
Step 9: Optimize the Image for SEO
AI-generated images can also be optimized for search engines.
Give the file a descriptive filename rather than leaving a generic name generated by the AI platform.
For example, instead of:
image1234.png
use:
ai-blog-image-creation-guide.webp
Add useful alt text that describes the image naturally. Don’t stuff keywords into the alt attribute simply to manipulate rankings.
You should also choose an appropriate image format. WebP can often provide a good balance between quality and file size, although the best format depends on your website setup.
The goal is to make the image useful for readers while keeping the page fast.
Step 10: Create a Consistent Visual Identity
If you publish regularly, consistency matters.
Imagine visiting a blog where every article has a completely different style. One image looks like a stock photograph, another looks like a cartoon and another resembles a movie poster.
The website may feel less cohesive.
Instead, establish a basic visual direction.
You could use:
- Similar aspect ratios
- Consistent typography
- A recognizable color palette
- Similar lighting
- Consistent logo placement
- Similar composition
You can then mention these preferences in your AI prompts.
For example:
“Use the same clean editorial photography style as previous blog images, with natural lighting, subtle colors and a premium business-magazine aesthetic.”
Over time, this can help create a recognizable visual identity.
A Simple Prompt Formula for Blog Images
If you are unsure how to write prompts, use this structure:
Subject + Setting + Visual Style + Composition + Lighting + Mood + Purpose
For example:
“A small-business owner using AI tools, modern home office, realistic editorial photography, subject positioned on the right with negative space on the left, natural morning lighting, professional and optimistic mood, designed as a website blog featured image.”
You can adapt this formula to almost any topic.
Common Mistakes to Avoid
One mistake is using generic prompts. If thousands of people can enter the same prompt and get similar images, your blog may end up looking like countless other websites.
Another mistake is prioritizing visual beauty over relevance. A stunning image that has little connection to the article does not help the reader.
Avoid putting too much text directly into the AI-generated image unless the tool handles typography well.
You should also avoid publishing an AI-generated image without checking it carefully. Small visual errors can damage the credibility of an otherwise professional article.
Finally, don’t forget image licensing and platform terms. Before using AI-generated visuals commercially, review the current terms of the tool you used and make sure your intended use is permitted.
Final Thoughts
Learning how to create professional blog images with AI is much easier than traditional image production, but getting great results still requires creative direction.
Start by understanding what your article is about. Choose an appropriate AI image generator, write a detailed prompt, create a strong composition and leave enough space for headlines when necessary.
Then edit and optimize the image before publishing it. Resize it appropriately, compress it, use a descriptive filename and add meaningful alt text.
Most importantly, don’t let AI completely replace your creative judgment. AI can generate the visual foundation quickly, but the final quality depends on how well you choose the concept, prompt the model and refine the result.
For bloggers in 2026, AI image generation is not simply a shortcut for creating pictures. It is a practical creative tool that can help turn ordinary blog posts into more attractive, memorable and professionally presented content.
A blog post can contain excellent information and still struggle to attract attention if its visuals are weak. The featured image is often one of…